
While my original skirt tutorial does not include pockets, I'm sharing another fun and simple tutorial this year that shows you how to sew a Bucket Pocket to my Simple One Seam Skirt. You can use this pocket tutorial and add it to any other basic skirt or pair of shorts, too.
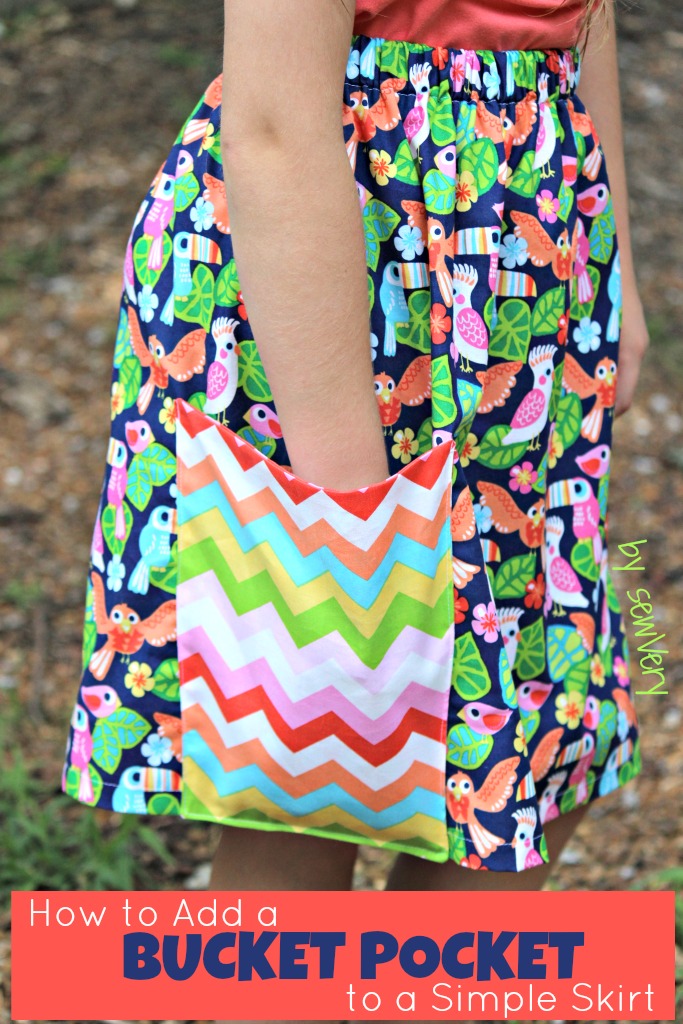
Why are these pockets called Bucket Pockets? Their shape resembles a child's sand bucket but without the handle. Plus, they hold a lot like a bucket can, and they are great for holding a stash of candy!

Disclosure: I was provided some of the fabrics used in this post free of charge in exchange for use in a blog post. All opinions are 100% my own.
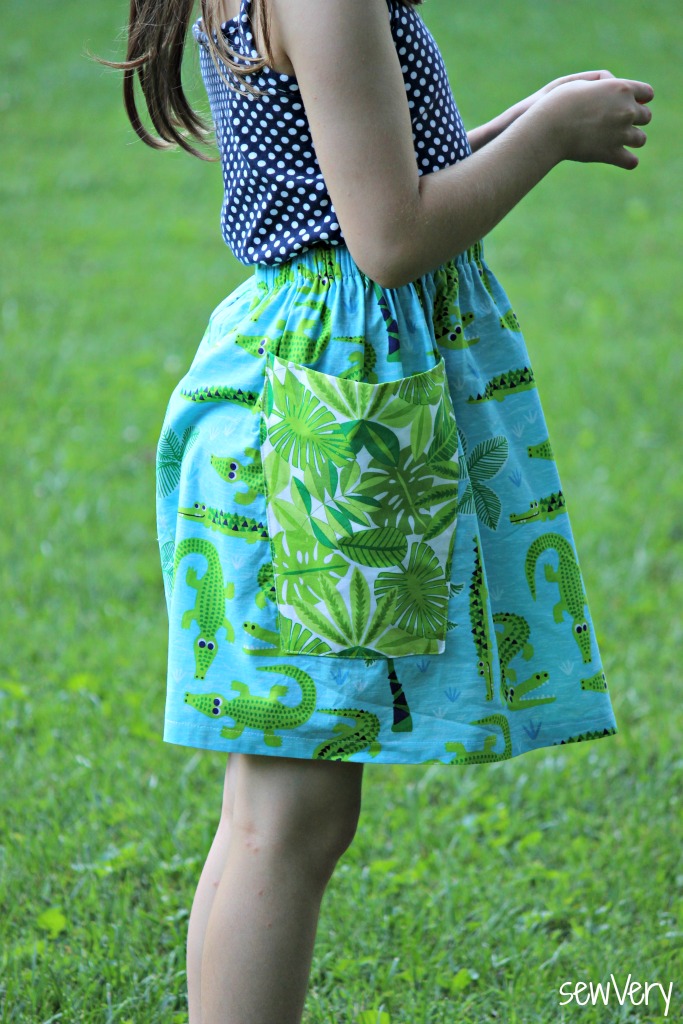
For my tutorial, the photos depict how to add the pockets centered along the side of the skirt and up a few inches from the hem of the skirt as shown in this version made with Everglades Blue from the See You Later fabric collection by Maude Asbury for Blend Fabrics.

You can also easily sew the pockets to the side of the skirt after hemming the skirt by matching the bottom of the pocket to the hemline as I did with this skirt sewn in Navy Birds of Paradise from the See You Later fabric collection by Maude Asbury for Blend Fabrics.

My daughter loves both versions but found the pocket on the light blue skirt easier to access.
Let's get started!
First, follow my Simple One Seam Skirt Tutorial to cut your fabric to the desired size and serge the top and bottom edges. Set the skirt fabric aside.

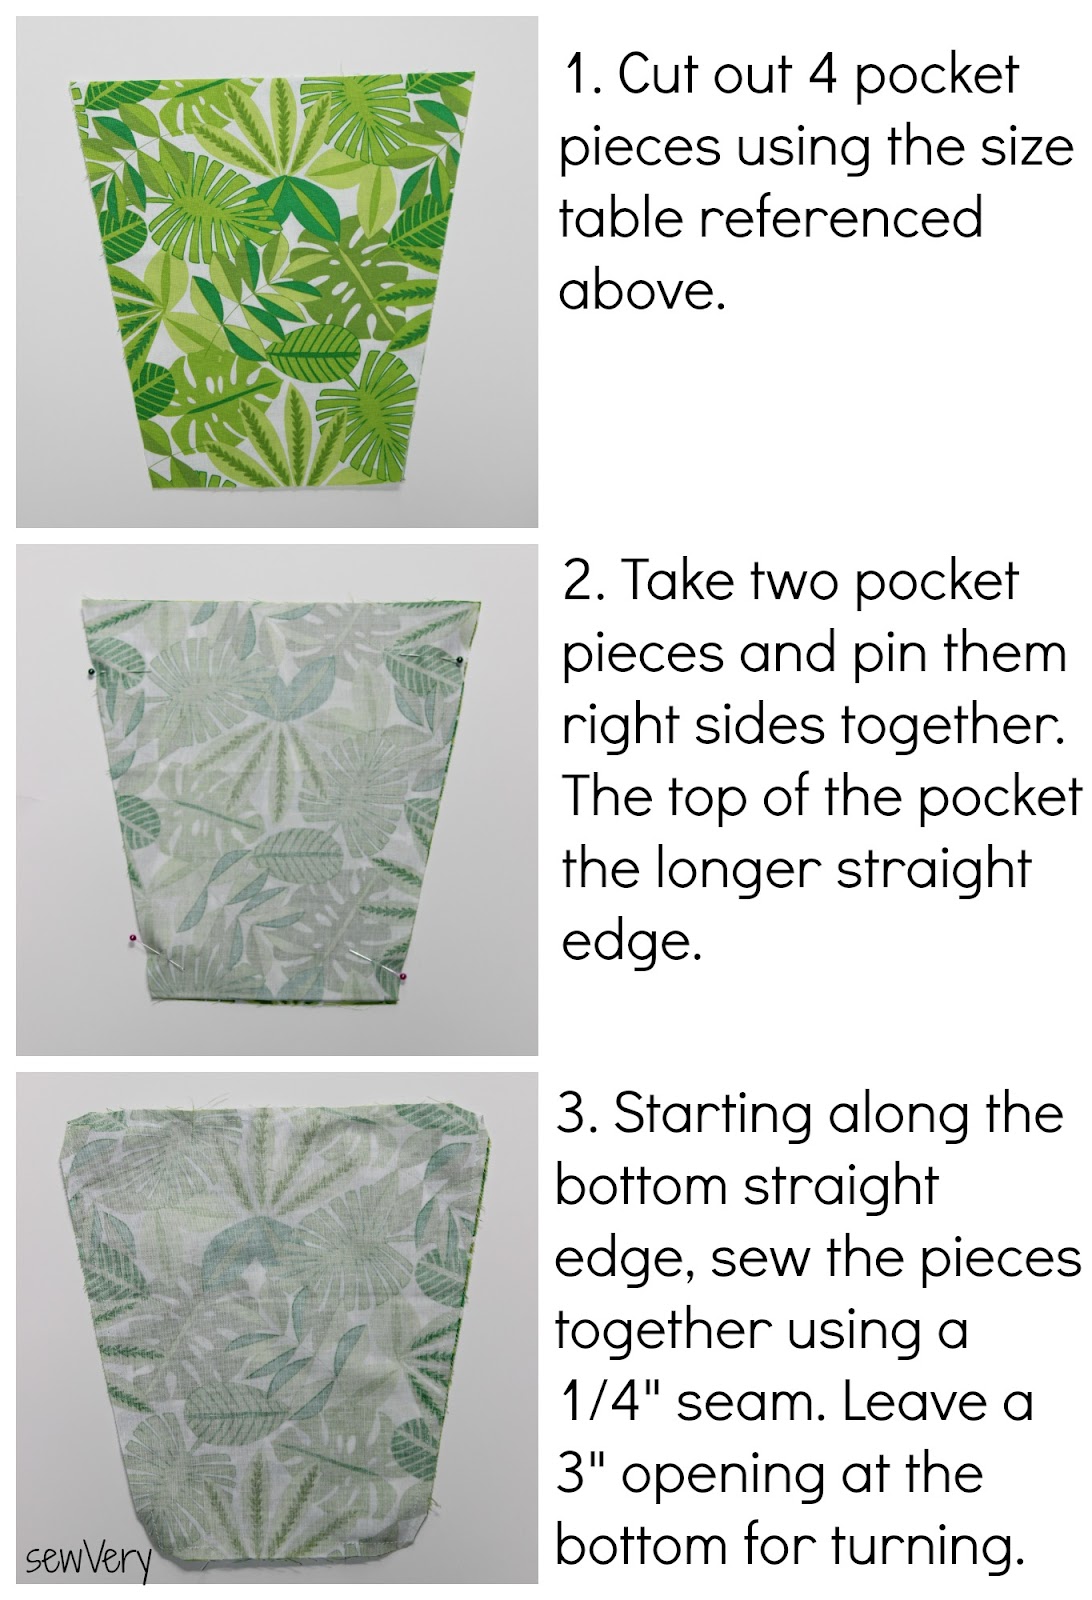
Next, based on the size skirt you are sewing, cut out the fabric to sew two Bucket Pockets per the chart below (click the image to enlarge it):

Now we will assemble the Bucket Pockets!


Now you will continue to assemble the Simple One Seam Skirt by sewing the back seam, the waistband, the hem, and inserting the elastic.
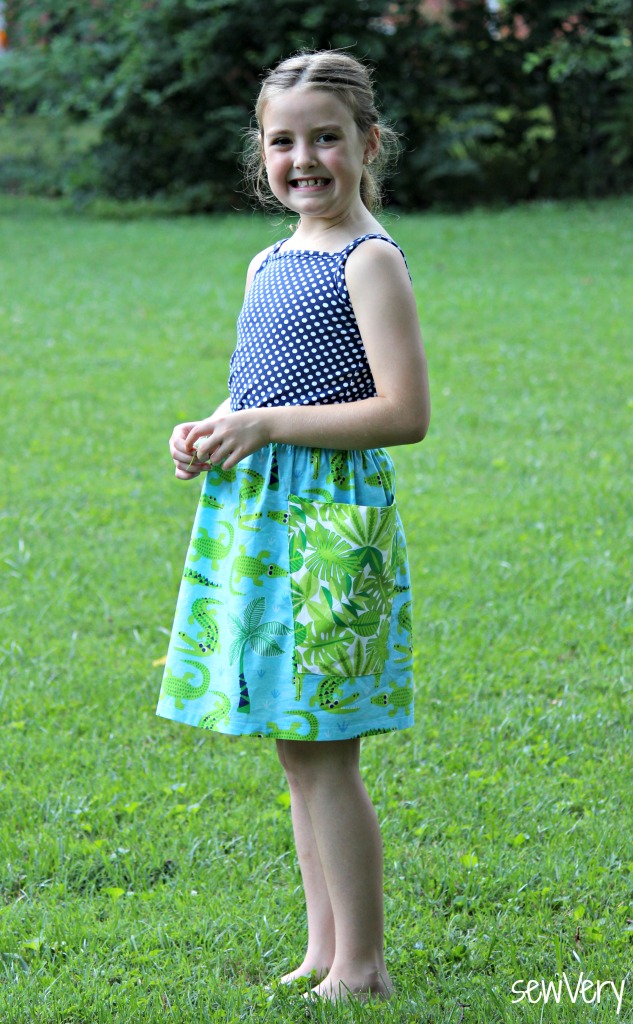
That's all there is to it! You can sew the Simple One Seam Skirt with the Bucket Pockets in under an hour no problem! Plus, for these size 8 skirts I made Ella, I used less than a yard of fabric per skirt total!
We paired the navy skirt with a ready to wear t-shirt in the same salmon color used in the skirt fabrics. Her hand-me-down flip flops were a perfect match as well!

The skirt provides plenty of coverage and is ideal for any occasion. I can't wait to sew up a few in solid khaki, navy, and black for school skirts this year.


This outfit is my favorite and reminds me so much of an ensemble you would buy from Gymboree!
Ella absolutely loves wearing these skirts and has requested a few more which I am more than happy to sew. These skirts make great gifts for her little friends and are perfect for sewing and donating to girls in foster care or in shelters as part of Skirting the Issue.
Be sure to head to Simple Simon & Co. and to Project Run & Play to learn more about Skirting the Issue and to discover lots of fun skirt patterns and tutorials.
Have FUN sewing!
My girls with pockets = every stuffed animal comes along!!! Lol - these are perfect!!!
ReplyDelete